Unix Tools For Data Science
Table of contents
- Topics: ls (-a, -al), pwd, mv, cd, cp, ps, top, kill, htop, history, man
- Topics: mkdir, rmdir, touch, rm (-rf), less, grep, vi, chmod
- Topics: ssh, tar, sftp, screen
6. Conclusion And More Resources
Introduction 
Knowing Unix tools and Bash commands is not the sexiest part of data science and is often the most overlooked skills. During my time as a Ph.D. student in Computational Science/Applied Mathematics I picked up a bunch of unix commands that were life savers and I'm going to go over a few here. Learning these skills is definitely can seem a little bit boring, but I cannot emphasize how useful they are. Setting up my unix environment and linking various libraries was one of the most frustrating parts of graduate school, but I believe I am much more productive as a data scientist having learned these valuable lessons.
Most of the commands and concepts I will be going over don't require any special libraries and when they do I'll provide links to them. In fact most of the unix commands can be run from Jupyter Notebook. When they don't, I will run them from the Terminal, which is the MacOS version of the Unix/Linux shell.
Basic Commands 
One of my favorite resources for learning various scientific computing concepts during graduate school was the deal.ii video lecture series. While these videos were made for scientific computing using their library, they still are extremely good resources for data scinentist beause the authors are incredibly thorough and amazing educators. For videos on command basics see this link.
The first command to we'll go over in this post is,
ls
ls lists all the files in the current directory (this is just a fancier way of saying "folder"):
ls
We see that there is a directory called Direc1/ (the forward slash after the name gives away that it is a directory instead of a file) and two files: this notebook (Unix_Tools.ipynb) as well as a file called file1. We can view the "hidden files" (those with a . infront of them) using a /-a after the ls:
ls -a
The </code>.ipynb_checkpoints/</code> is a "hidden directory." The ./ stands for the current directory (we could also use ls . instead of ls). And the ../ stands for the parent directory (the directory containing this directory).
We can get more information on the files and directories using the ls -al command (this will give us information on all the files, if we wanted just non hidden ones we would use ls -al):
ls -al
Each row now corresponds to a file or directory. It also gives us information on the permisions for the file/directory, number of links, owner name, group name, number of bytes in the file, abbreviated month, day-of-month file was last modified, hour file last modified, minute file last modified, and the pathname/file name.
We can also view the path to the current directory using,
-
pwd
pwd
You can see that in jupyter notebooks the path is returned as unicode. We can also use ls to view the contents of other directories than our current one. We can see the contents of Direc1/ by typing:
ls Direc1
Nothing happened here because that directory is emtpy. We can move the file, file1, into Direc1/ by using the command
-
mv
mv file1 Direc1/
We can now see the contents of Direc1 again to see that the file has moved there:
ls Direc1/
We can then go into to Direc1 by using,
cd
which stands for "change directory,"
cd Direc1/
We can also use mv to change the name of a file or directory:
mv file1 file2
ls
We can copy the contents of file2 into file1 using the command,
cp
cp file2 file1
We can then go back to the the parent (original) directory using,
cd ..
We can see the process that are running in this directory,
- </code>ps</code>
This one we will have to use in the terminal,
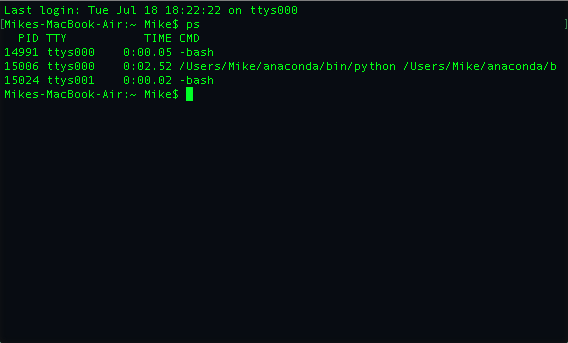
The PID is the process id and is important because we can use it to help us kill the process or command if we need to. The Time is how long the process has been running and CMD is the name of the command or process that is running. The TTY isn't something that I have ever have had to use.
We can also use the command,
top
to see all the processes running on our computer, the results from my terminal are below,
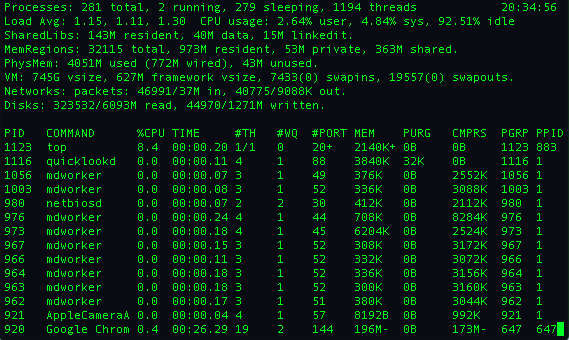
As you can see theres a lot more information that is provided by top including the ammount of memory each process is using. One tool I liked using in graduate school is,
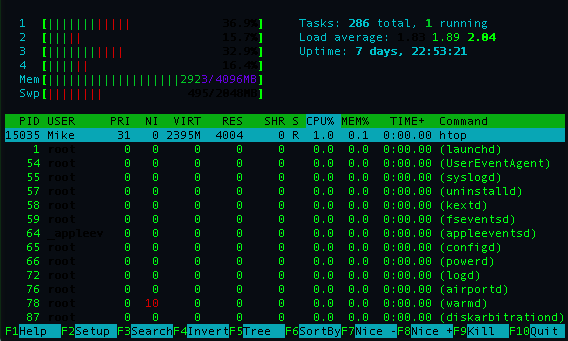
which provides an interactive version of of top. I liked it because when writing multi-threaded applications you can see directly how much work each core/thread is using (you can get a similar effect using top by pressing 1 while top is running). An example on my computer of the results of htop are shown below,
The last two basic commands I'll mention are,
history
which shows use a list of all the commands you have used recently. As well as,
which can be used to show the manual page of specific unix commands.
Now that we have on the basics of unix commands we can move on to dealing with directories and files more concretely.
We can create directories using the,
mkdir
command. Say we want to create a new directory called Direc2/, we can do this by the command,
mkdir Direc2/
ls
We can remove empty directories by using,
rmdir
as we see below,
rmdir Direc2/
ls
Next let's go into directory Direc1/ and create a file.
cd Direc1/
ls .
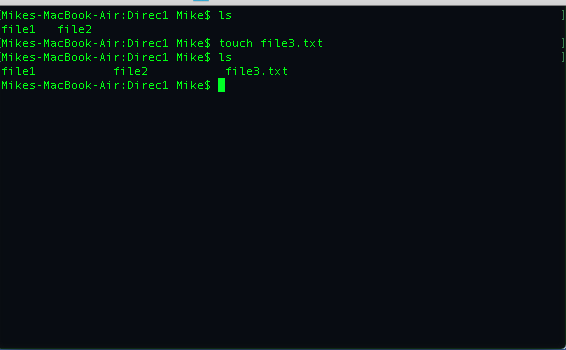
We can make an empty by using the command,
touch
Let's make a file called file3.txt using the terminal,
We can delete files by using the command,
rm
Let's delete file3.txt in the jupyter notebook,
ls
rm file3.txt
ls
You can delete multiple files by just having a space between the files after rm. We can view the contents a file using the command,
less
Let's take a look at the contents of file1:
less file1
The results of typing this into the terminal are seen below:
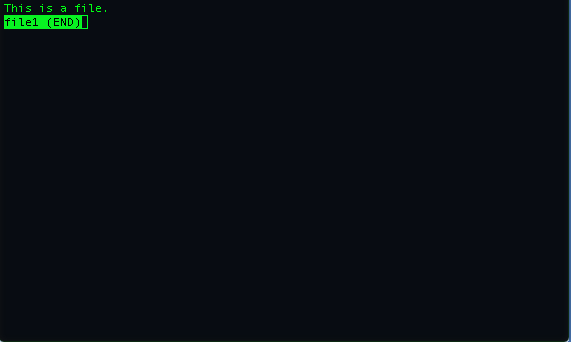
We can scroll through the lines of the file by pressing the enter button. We can exit the file by typing q.
Finally, let's show how to delete all a non-empty file.
cd ..
If we just try to delete Direc1/, we'll get a warning that it is not empty and it won't delete the directory,
rmdir Direc1/
ls
To delete this directory and everything inside we can use the command,
rm -rf
The -rafter the rm stands for recursive. We could also use cp -r direc1 direc2 to copy all the contents of direct1 to direct2. The -f forces command to take place. Let's try it:
rm -rf Direc1/
ls
It worked! One last tool that for working with files in Unix that is extremely helpful is,
grep is a utility that searches any given input files or directory, selecting lines that match one or more patterns using regular expression.
An example migh tbe to search and list all the files in a directory that end with the word .json. You can see an example where I do this on my Destkop below:
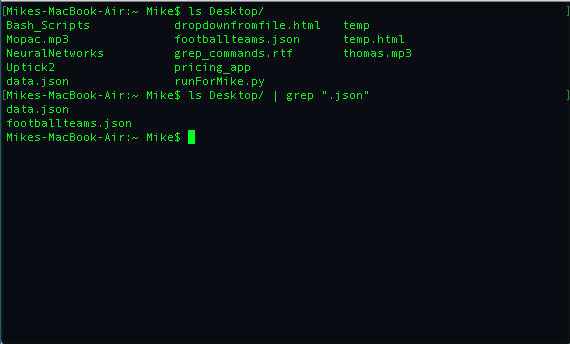
There are lot more useful things that grep can do and for more examples see this article.
Now that we've got that under our belt lets see how we can edit files.
Vim
Vim (or Vi as it is sometimes known as) is a file editor that is on every Unix/Linux and Mac computer by default. There is a historical debate between developers who perfer Vi vs. Emacs vs. some newer editor. I think it's is important to know the basics of Vim, solely because on you may have to make a few changes on a machine where there are no other editors to use except vi.
If you type,
vi
in to the terminal you can see that we have new window with no name displayed at the bottom of the screen; this means that we are working with an unnammed file. To quit vi without saving the file (that we're editing) we first press the esp key followed by a colon (:) and then use,
q!
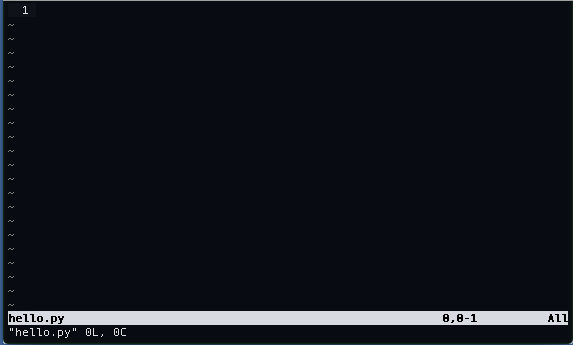
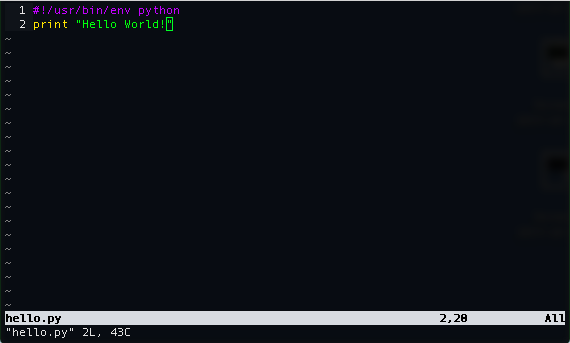
We can create a file with a specific name and open it using vi using the following one line command,
vi hello.py
This creates a file called hello.py as seen below:
We can edit the file by typing,
i
for insert. We do this and write the following,
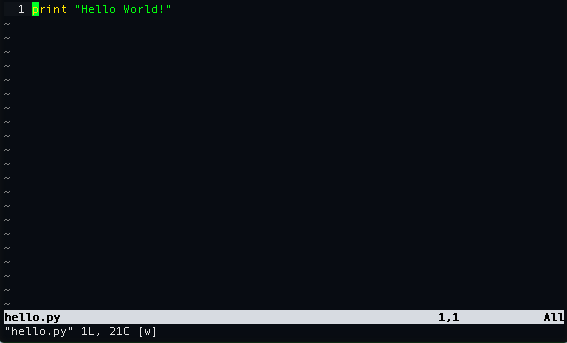
We can save the edits to the file using the command,
w
which stands for write. We save our edits by pressing the esp key, then :wand hit enter. You can scroll up and down lines in the file using the up and down arrows and scroll left or right across the screen using the left and right arrows. We can then exit editing the fiel in vi by using,
q
by again first using the esp then :q (one could also save and quit by using esp then :wq).
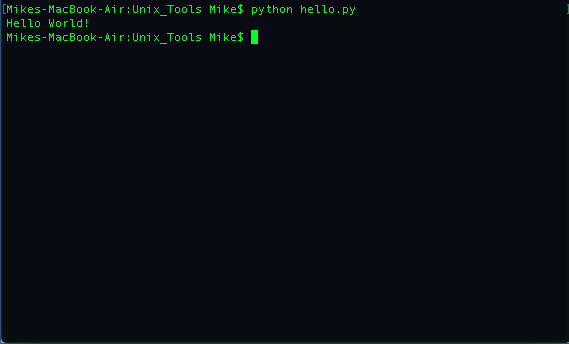
We then can excute the contents of this file using the command from the terminal,
python hello.py
We see the results below:
Now, let's go back and edit our hello.py file by adding the following on top:
And then exit and type ls -al into our terminal we will see the following for hello.py:

You can see the -rw-r--r--. The r stands that fact we have for read permissions to the file, the w stands for the fact we have write permissions to the file, and if we had a x that would mean we could excute the file. We can give ourselves the ability to execute the file using the command
chmod
We'll simply give anyone access to read, write and execute this file by typing,
chmod 777 hello.py
into the terminmal. Now if you type ls -al you can see we have the ability to execute the file as well:

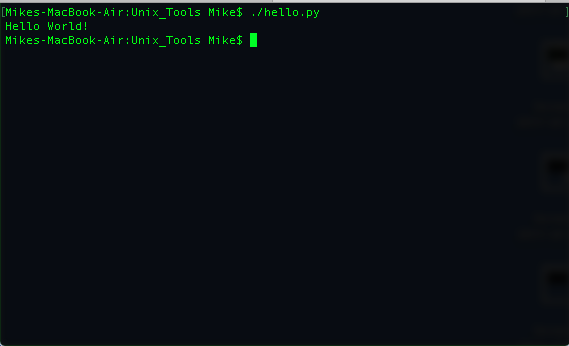
I've skipped a bunch of detiails, so for more information on chmod, see here. We can npw execute the file by typing,
./hello.py
The results are shown below:
Note that if we did not add the line
#!/usr/bin/env python
on to the top of the hello.py file it wouldn't be executable, to understand why this is so check out this post.
There are tons more commands you can use in Vi (for more see here), but if you just looking to quickly open and edit a file this is pretty much all you need to know. One reason why you would use Vi over another editor is that you may be working over a network and not have the ability to use any advance editors like sublime which require a graphical interface. This point segways directly into the next topic which is working over a network.
Working Over A Network 
Working over a network to access a computer or cluster is something you will often have to do as a data scientist. The basic way to "log on" to another unix computer is with using
-ssh
ssh stands for secure shell and is a way to operate network services/computers securely over a non-secure network. The way you would access a computer with an address or ip address computer_address using your login name login_name is by the command,
ssh login_name@computer_address
you'll then be prompted for your password and after typing it in you can hit enter. Once on the computer/cluster you can nativate through directories and edit files as we learned above.
Now, how do you get files back to your own computer from the cluster or put files from your computer on the cluster? There are many ways to do this, the easiest involve three things:
- Creating a compressed archive
- Transferring the archive
- File extraction from the archive
To create an archive, or a one file collection of directory/folder, as well as compress and extract (uncompress) the archive we will use the,
command. We can create compressed version of the directory with the command,
tar -cvzf compressed_file_name.tar.gz directory_name
To uncompress or extract the "tar file" we use the command,
tar -xvzf compressed_file_name.tar.gz
We compress and uncompress the file/directories before and after transfering to reduce the amount of data that must be sent as well as the time it takes to transfer it. In order to get files to and from a cluster or machine we use,
which stands for secure file transfer protocol. You can use sftp just like ssh,
sftp login_name@computer_address
we can then nativate the cluster or computer using the commands we disucussed above. Once we get to the directory with the file we can say,
get file_name
If we want to get an entire directory we use the command,
get -r directory_name
The file(s) will be transfered to the our local machine in the directory we called sftp from. In order to transfer a file from your local macine to a remote machine we first cd to the directory that contains the file we wish to transfer and then call sftp from there. We then write,
put file_name
If we want to push an entire directory we use the command,
put -r directory_name
We can quit of sftp by typing exit from the command line.
One last tool that is useful while working over a netwtork is,
Screen can be used to run programs (on a remote computer using ssh) even after you disconnected from the computer and closed the ssh session. You can also reattach to that sesssion at a later time and continue working from where you left off! Nohup and tmux are also solutions for persisting programs if you are intested in other options. Screen can do much more than just persist a running program, but I won't cover that here. Instead let's quickly go over how to create a session and then reattach that session.
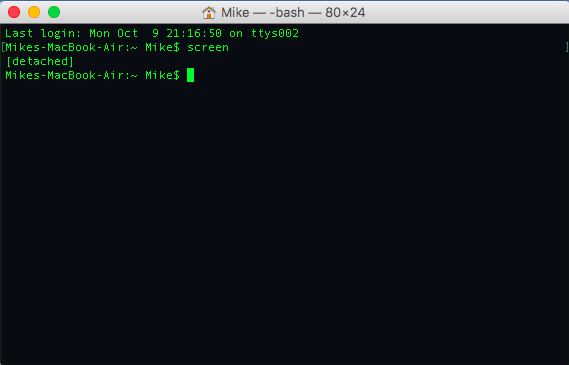
First we create a screen session by typing,
screen
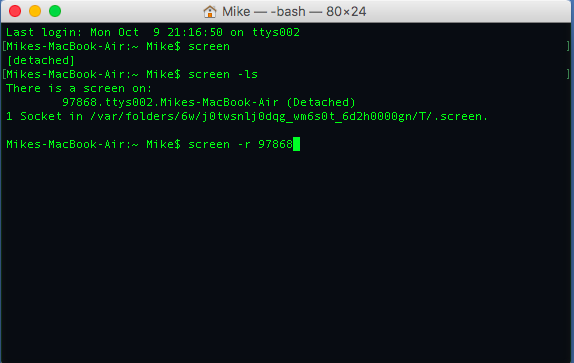
and we then get a terminal pretty much like the one we had before. We can then run our program of choice and detach the screen session by holding the control button, the a button and the d button. After we doing this, we then see in our terminal,
which tells us that the session has been detached. The program we ran will still be running on the background, even if we close our ssh connection. We can reattach the screen session by typing,
screen -list
and get a list of all the active screen sessions and their id numbers. We find the session we want and re-attach to it using the command,
screen -r <session_id>
Finally, we can kill the screen session by simply typing,
exit
into the terminal. You can see the example of me detaching and re-attaching to a screen session below:
A Word On Working With Git 
The last thing that you need to know is how to work with git. You don't have to use git, but you should be working with some type of version/source control. Version control is essential and has saved me countless times. However, version control is useless unless you work with it properly. This means commiting often and having meaningful messages when you commit. It also means when you move files around that you do it within the git framework, i.e.
git mv file_name directory_name
or
git rm file_name
instead of
mv file_name directory_name
and
rm file_name
In order to learn about git and github I used a lot of the videos on the deal.ii website.
Conclusion And More Resources 
In this blog post we went over some of the basics of using command line tools. There are a lot other things out there to learn. Some things that I didnt cover which are important are,
You should definitely invest in using package managers as they make your life much easier by installing and updating libraries and figure out dependencies between libraries. The package mananager I use is homebrew and for Python I use pip and Anaconda. That's it for now.
Happy hacking!